- Published on
How to upload Nextjs app on cpanel
- Authors
- Name
- John Mwendwa
- Github
- John
Step 1 : Navigate to the domains section
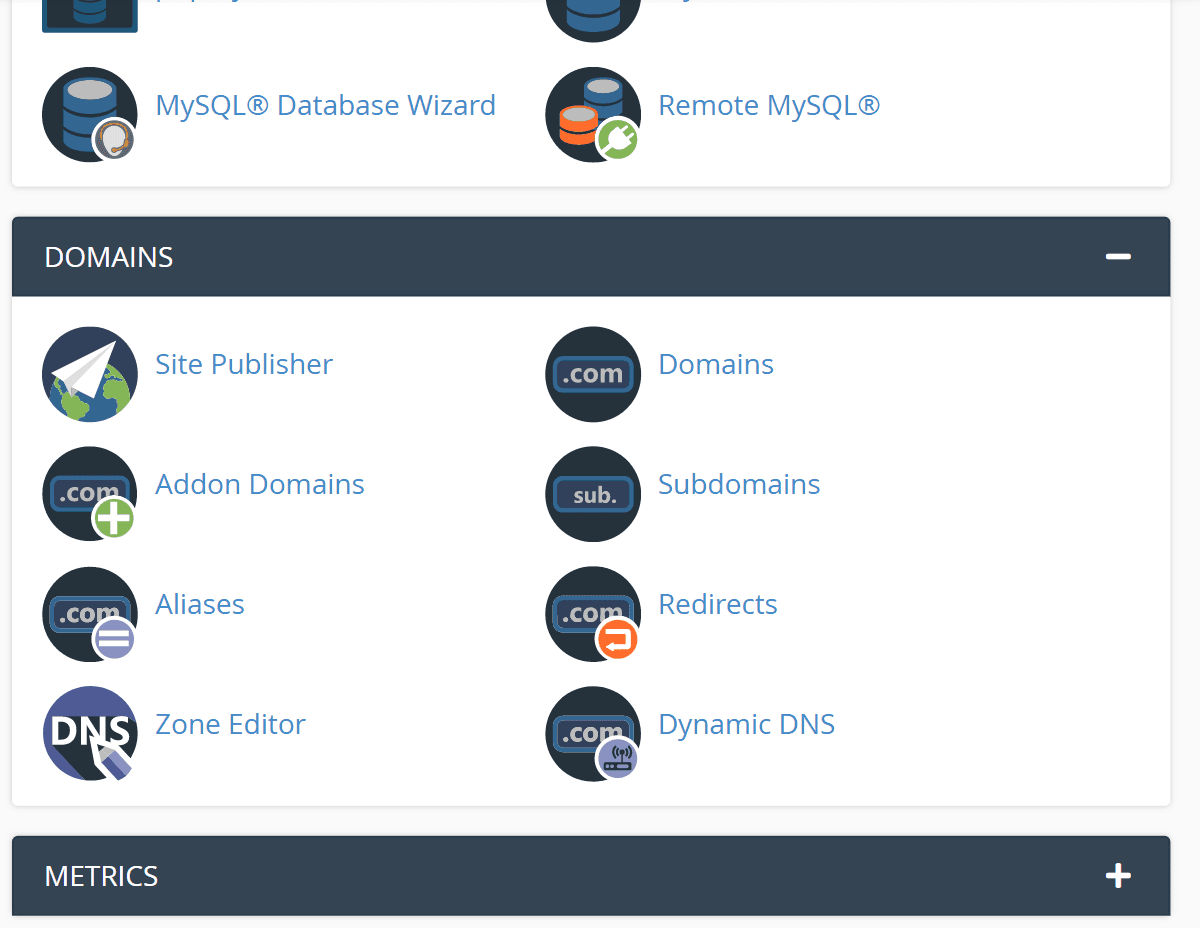
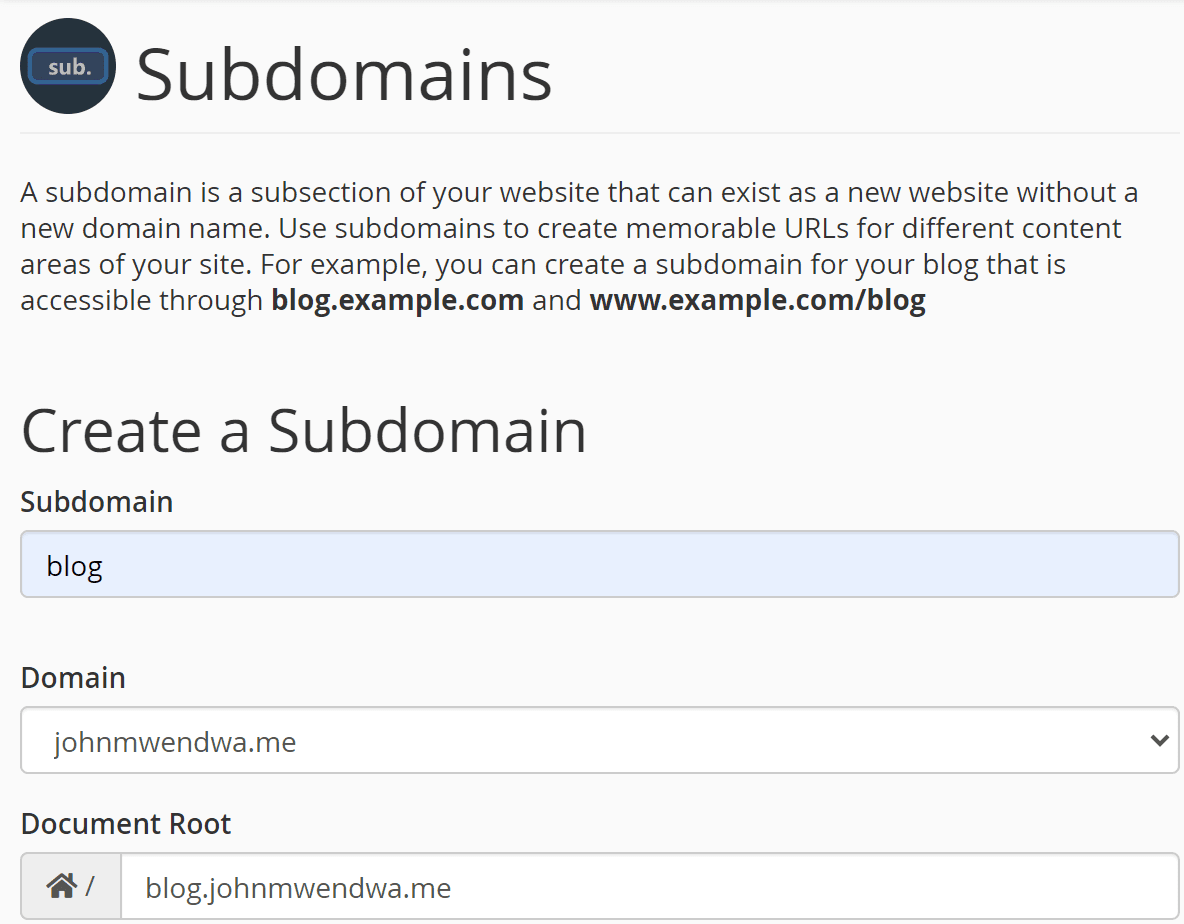
Step 2 : Create a subdomain
If you are not building for the main domain of your site, you should first create a subdomain for your new application.
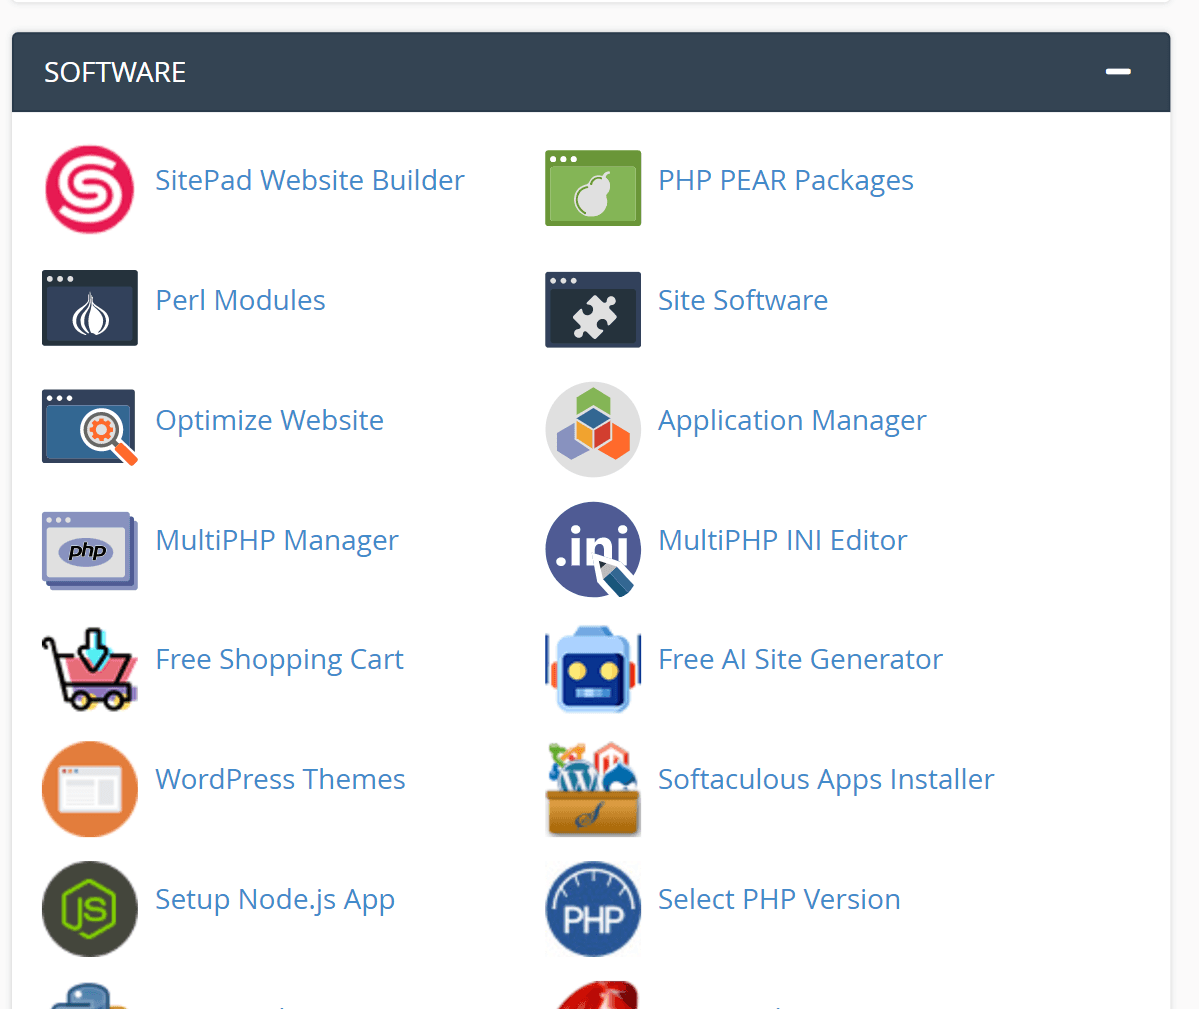
Step 3 : Go to the software section and click Setup Node.js App
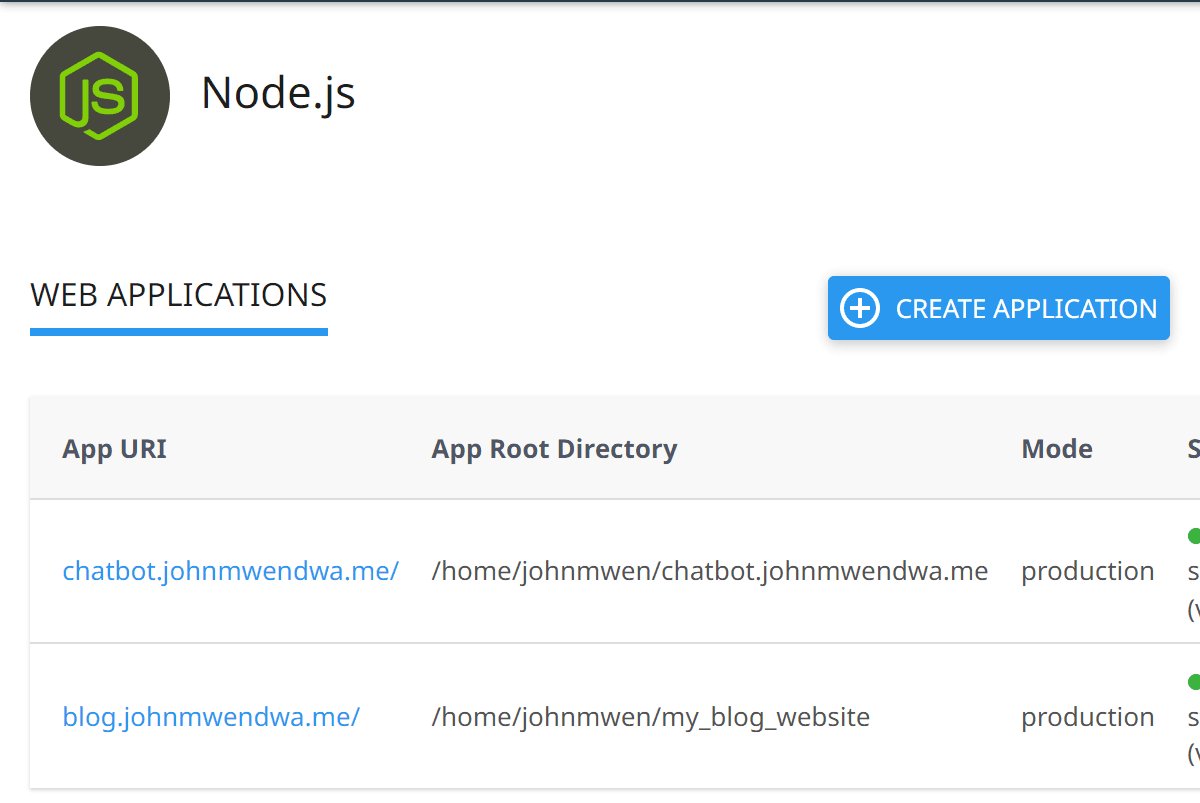
Step 4 : Create a new application
Click the create application button to create a new Nodejs application.
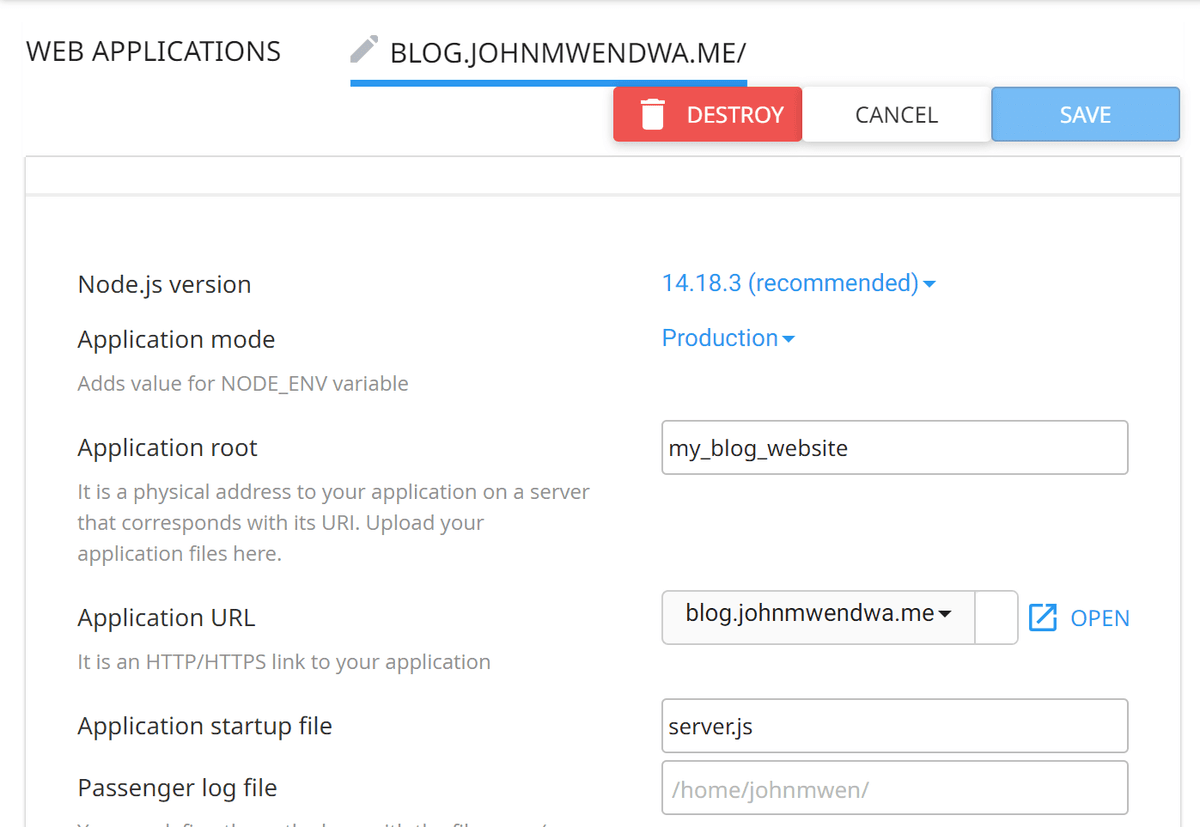
Step 5 : Choose the Nodejs version and Application mode
Choose the appropriate Nodejs version for your application. The recommended version is 14.18.3 or higher but you can choose according to the version you used in your machine when creating your Nextjs application.
Under the application mode, select production mode.
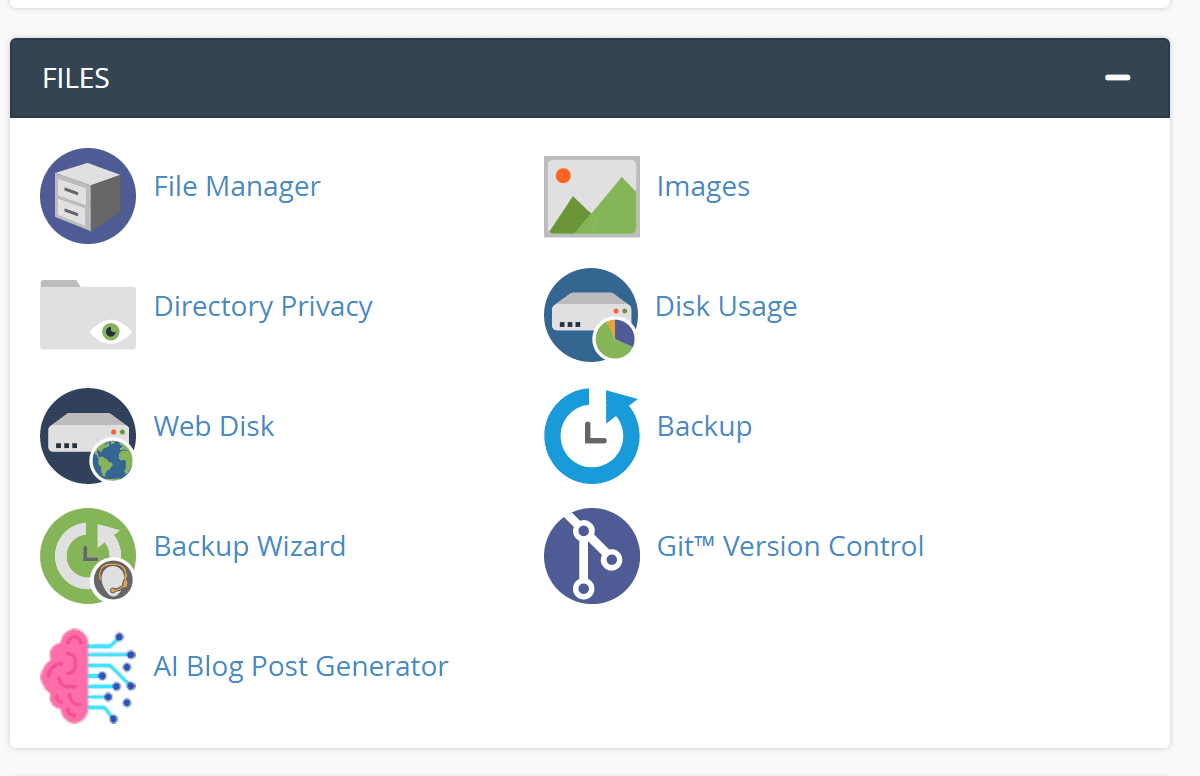
Step 6 : Go to File Manager
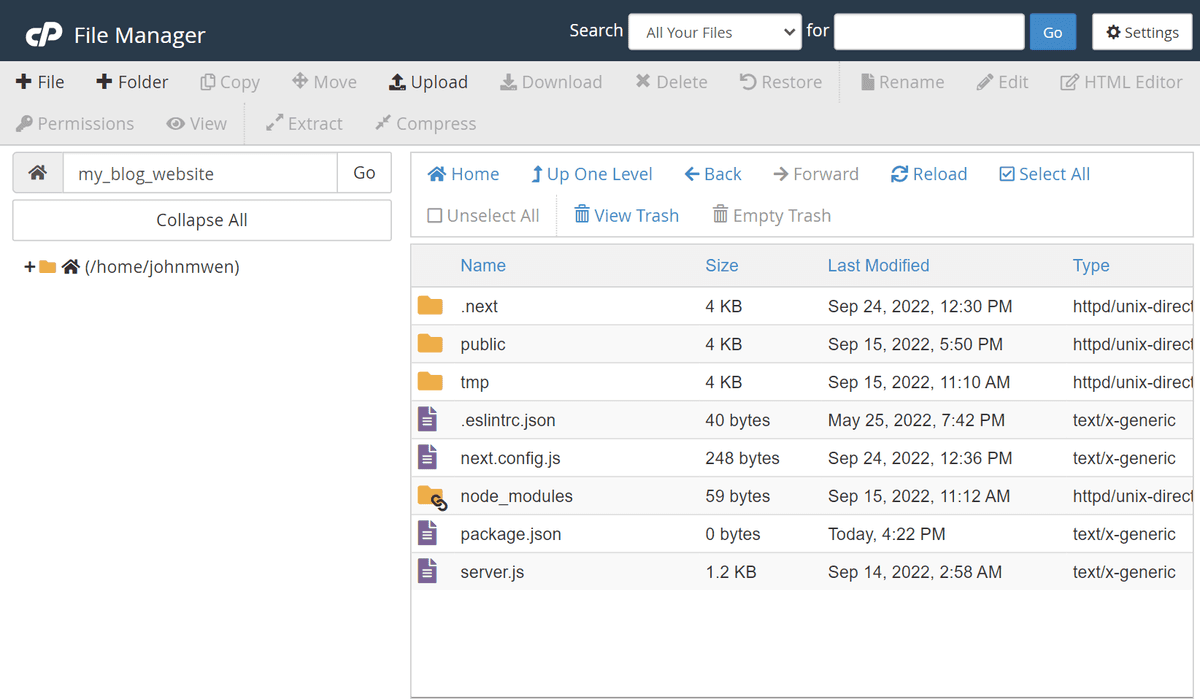
Step 7 : Upload your files
Before you upload your files you must first make changes to your package.json file. Insert the following lines in your script :
1 "scripts": {
2    "dev": "node server.js",
3    "build": "next build",
4    "start": "NODE_ENV=production node server.js"
5  }
Then create a server.js file and insert the following code :
1const { createServer } = require("http");
2const { parse } = require("url");
3const next = require("next");
4
5const dev = process.env.NODE_ENV !== "production";
6const hostname = "localhost";
7const port = process.env.PORT || 3000;
8// when using middleware `hostname` and `port` must be provided below
9const app = next({ dev, hostname, port });
10const handle = app.getRequestHandler();
11
12app.prepare().then(() => {
13  createServer(async (req, res) => {
14    try {
15      // Be sure to pass `true` as the second argument to `url.parse`.
16      // This tells it to parse the query portion of the URL.
17      const parsedUrl = parse(req.url, true);
18      const { pathname, query } = parsedUrl;
19
20      if (pathname === "/a") {
21        await app.render(req, res, "/a", query);
22      } else if (pathname === "/b") {
23        await app.render(req, res, "/b", query);
24      } else {
25        await handle(req, res, parsedUrl);
26      }
27    } catch (err) {
28      console.error("Error occurred handling", req.url, err);
29      res.statusCode = 500;
30      res.end("internal server error");
31    }
32  }).listen(port, (err) => {
33    if (err) throw err;
34    console.log(`> Ready on http://${hostname}:${port}`);
35  });
36});
You can learn more about the custom server file from Nextjs.
Next, run your build command :
1$ npm run build
For you to upload your application files you have to zip them first.
The only files you're going to zip are your package.json, next.config.js, server.js, .next folder and the public folder.
Click the upload link in the file manager and drag your zip file there to upload. Then extract your files and delete the zip file.
Step 8 : Copy the virtual environment command provided
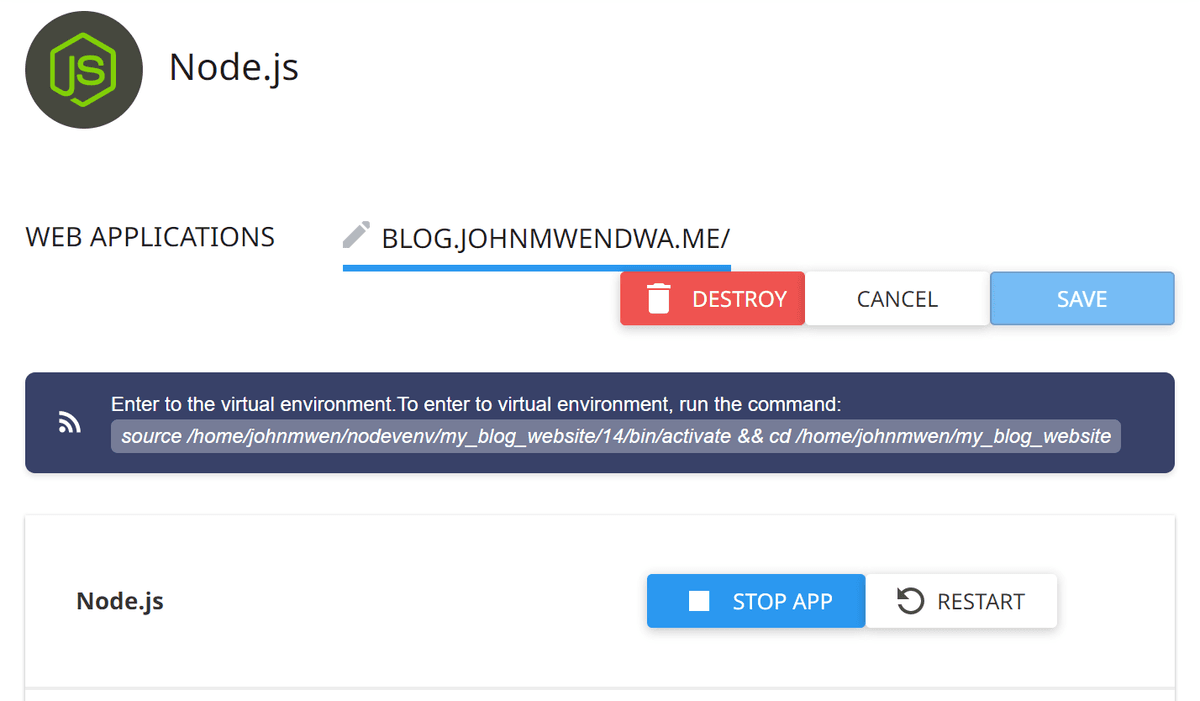
Navigate back to the setup Nodejs section and press the edit icon. Press the STOP APP button and then copy the environment command located at the top of the page. You can just click it and it will be automatically saved to your clipboard.
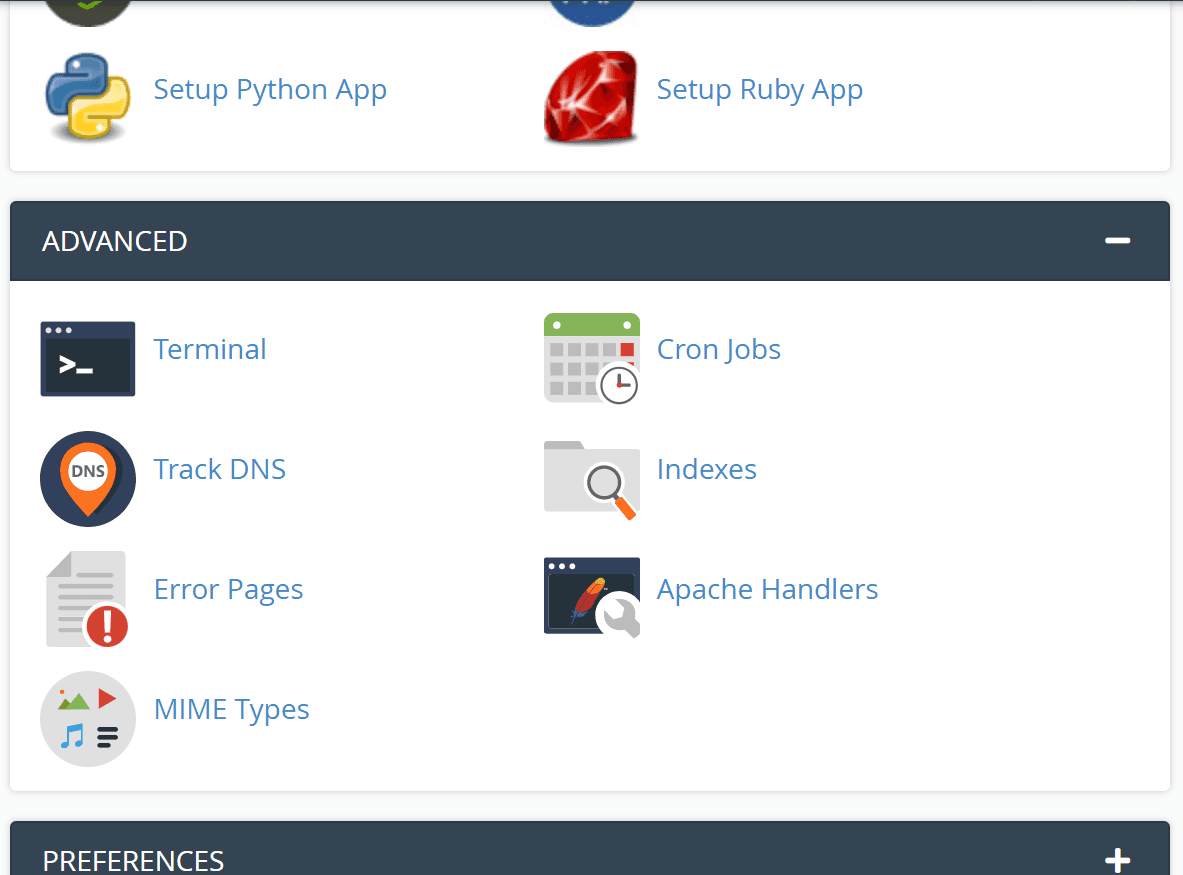
Step 9 : Navigate to the advanced section and click the Terminal link
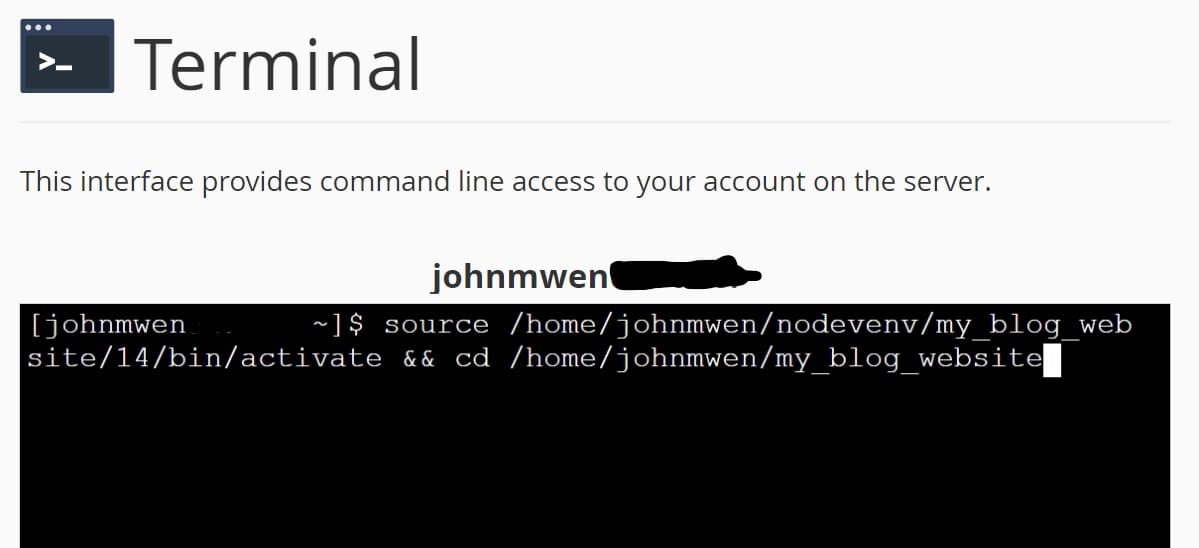
Step 10 : Paste the command you copied
In the terminal, paste the command you've just copied. If you're on window use the Ctrl + Shift + V to paste the command.
Then run the below command to install all your dependencies :
1$ npm install
After all the dependencies have been installed, go back to the Setup Nodejs App section and start your application. There you go, your app is now online.